




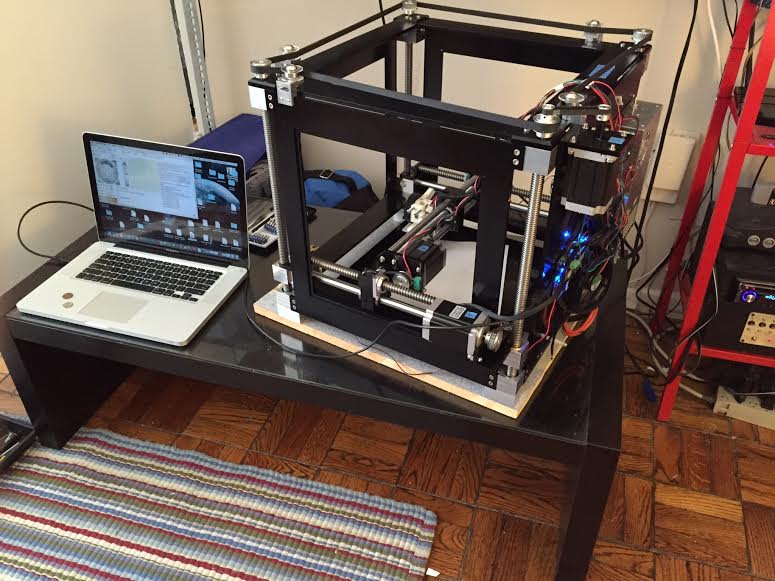
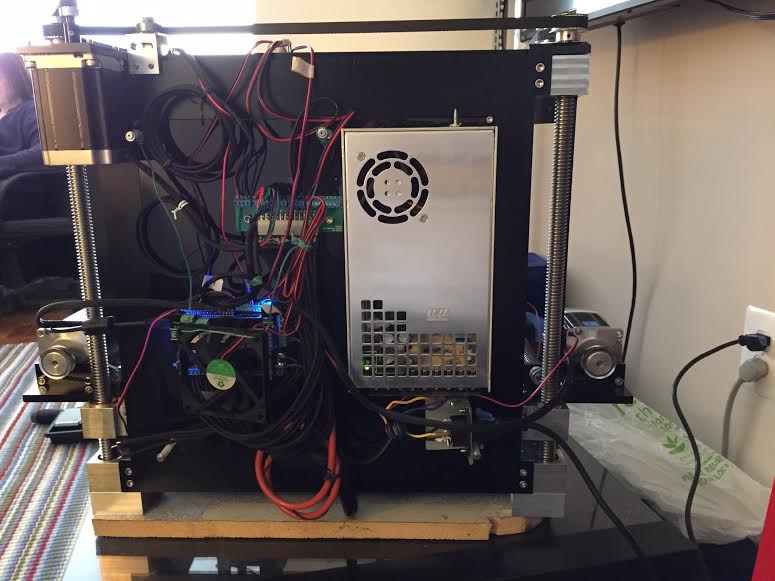

The gantry is assembled and all three axes are assembled. This took way longer than it should have, and I had to rebuild the gantry twice.

With only belts and belt hardware to go, the RPM is definitely an impressive piece of machinery. What a journey its been.

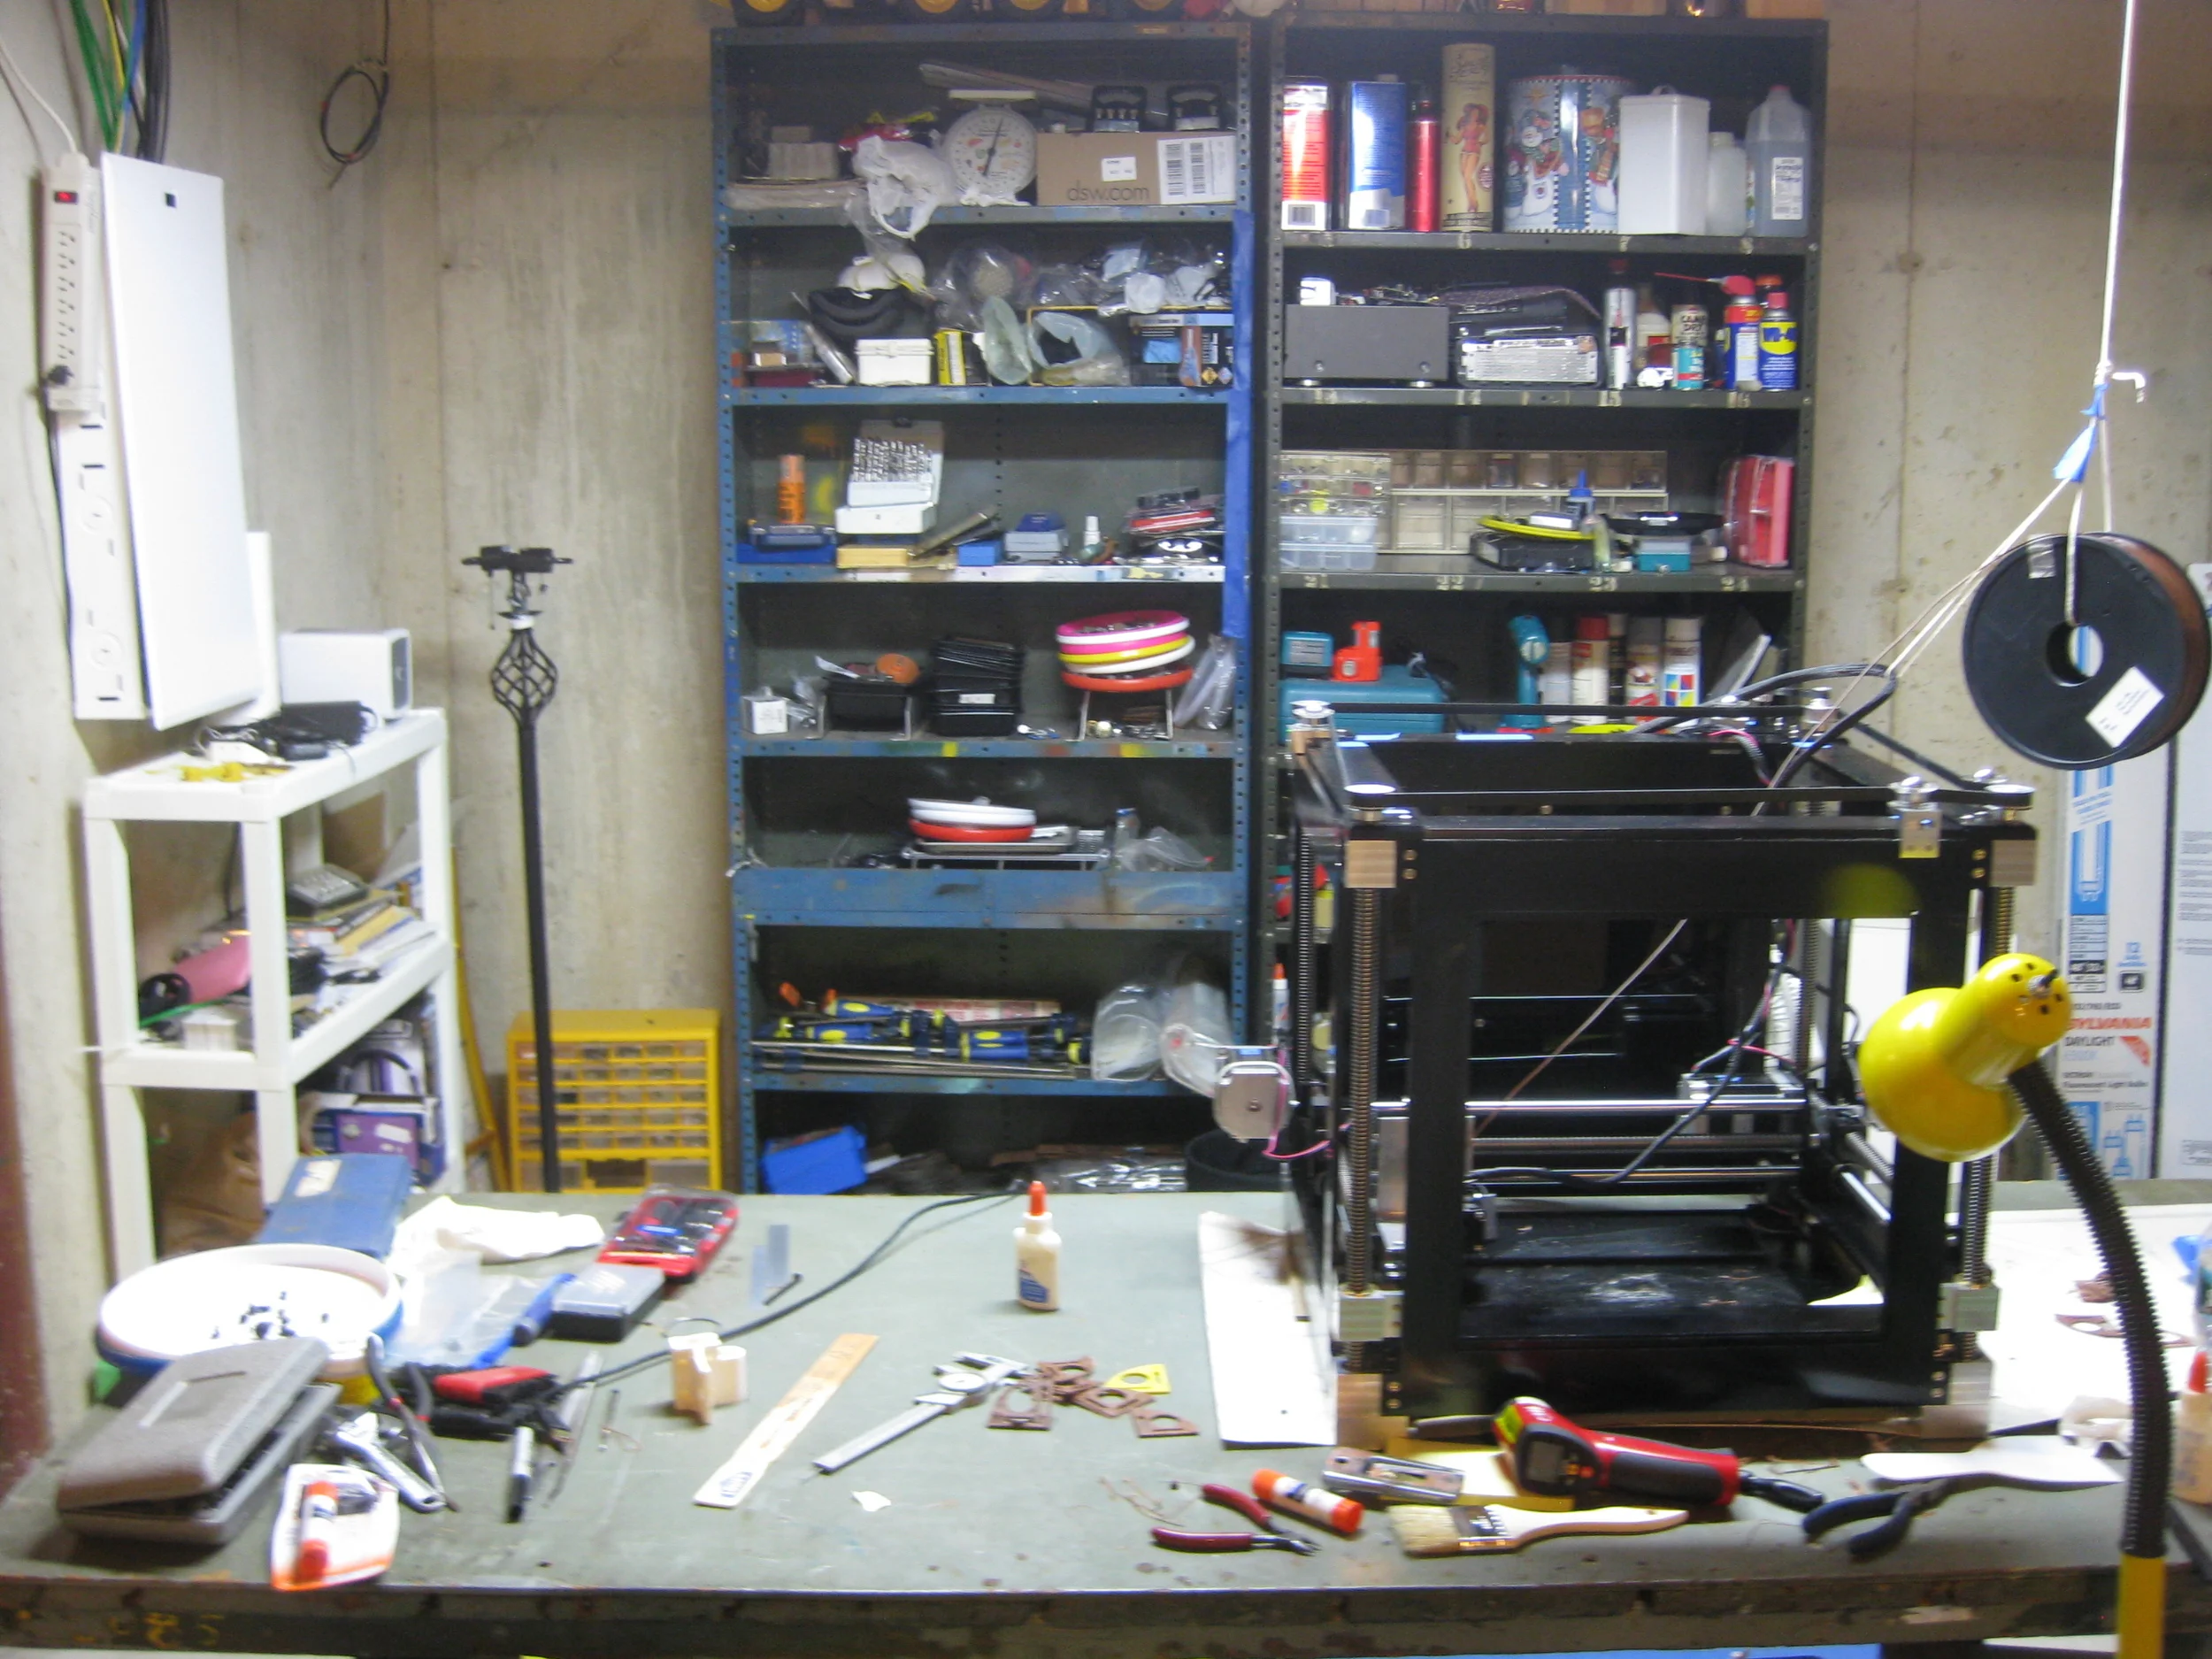
Welcome to my lab! Its a little cluttered, but it works well for me. Notice the suspended filament roll, soon to be replaced by a more permanent filament holding solution. See if you can find the other projects I'm working on.

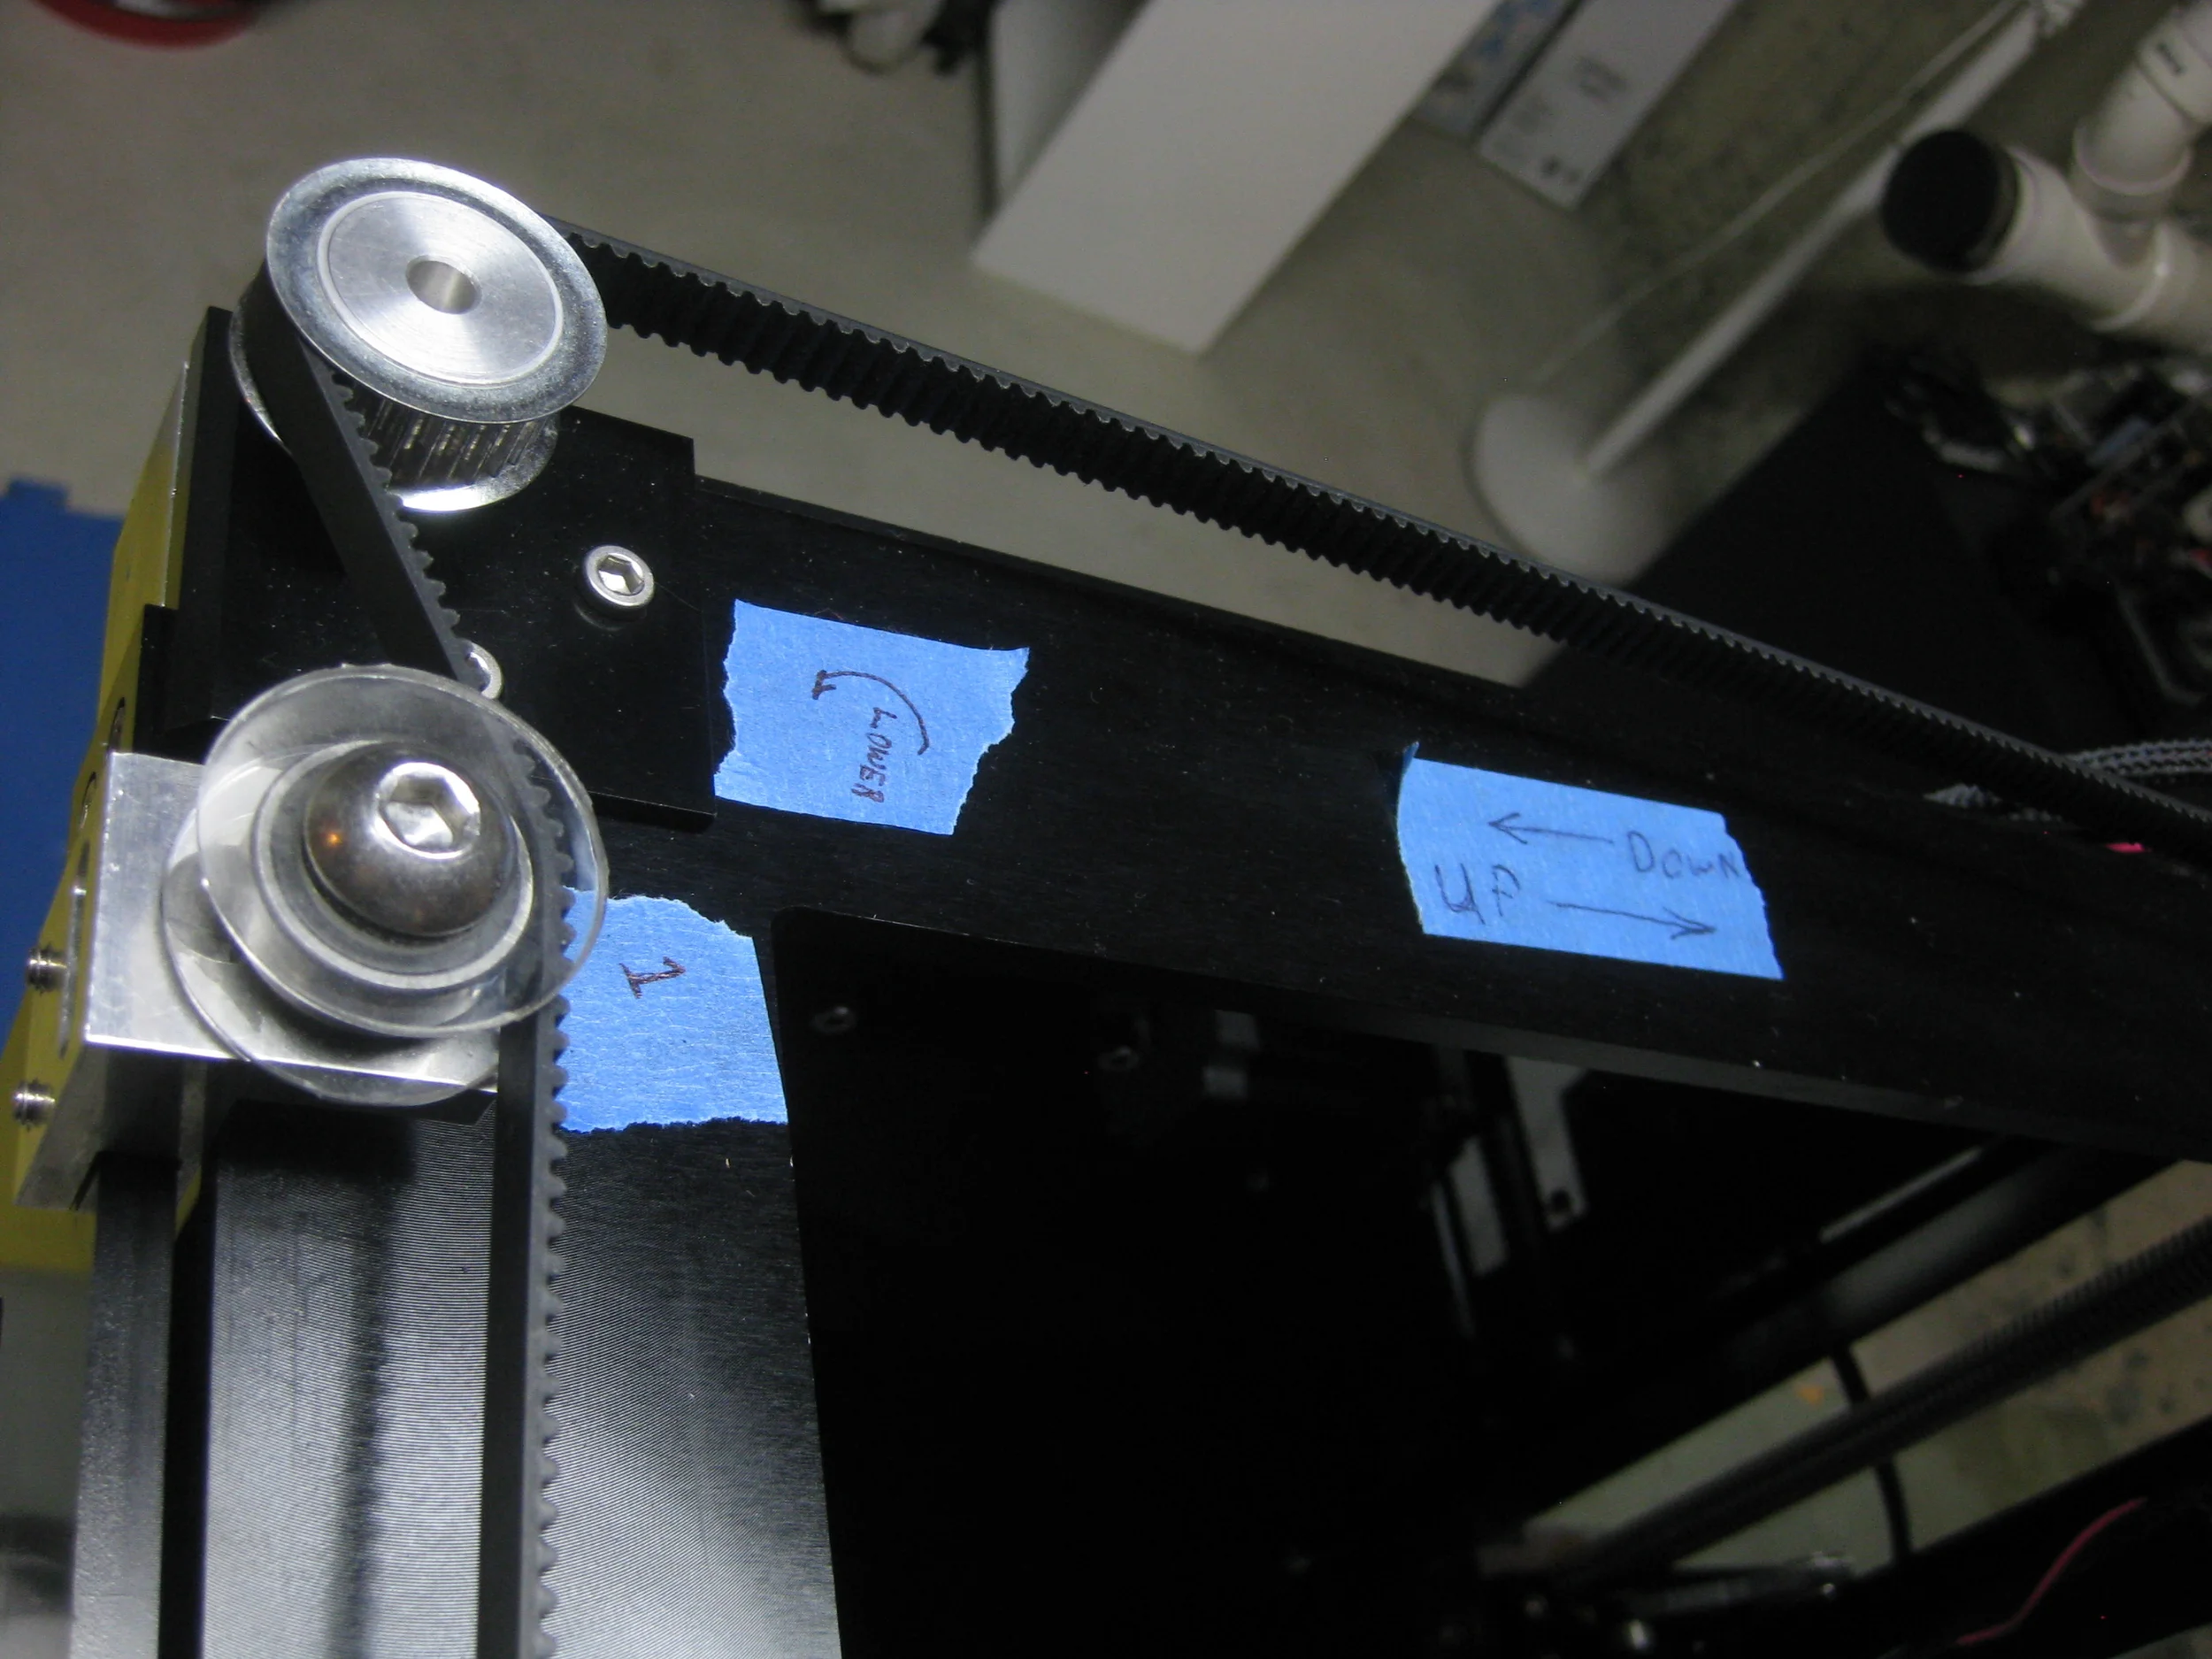
Each corner of the gantry is supported by a leadscrew, which makes leveling it a nontrivial task. I labeled each corner and kept track of my progress in excel. Little labels like these help keep me on track!

The RPM did not come with any kind of extruder mount, just an aluminum block with m5 tapped holes. This is my solution! I had to re-drill mounting holes to allow for different extruder heights. The extruder itself is attached to a separate plate which can be easily swapped out without having to remove too many bolts. The holder can accept a different extruder, a paste extruder, a laser... pretty much anything.

Lost a heatsink for a few hours, but a screw with thermal tape applied to the head kept the driver cool enough to keep testing.

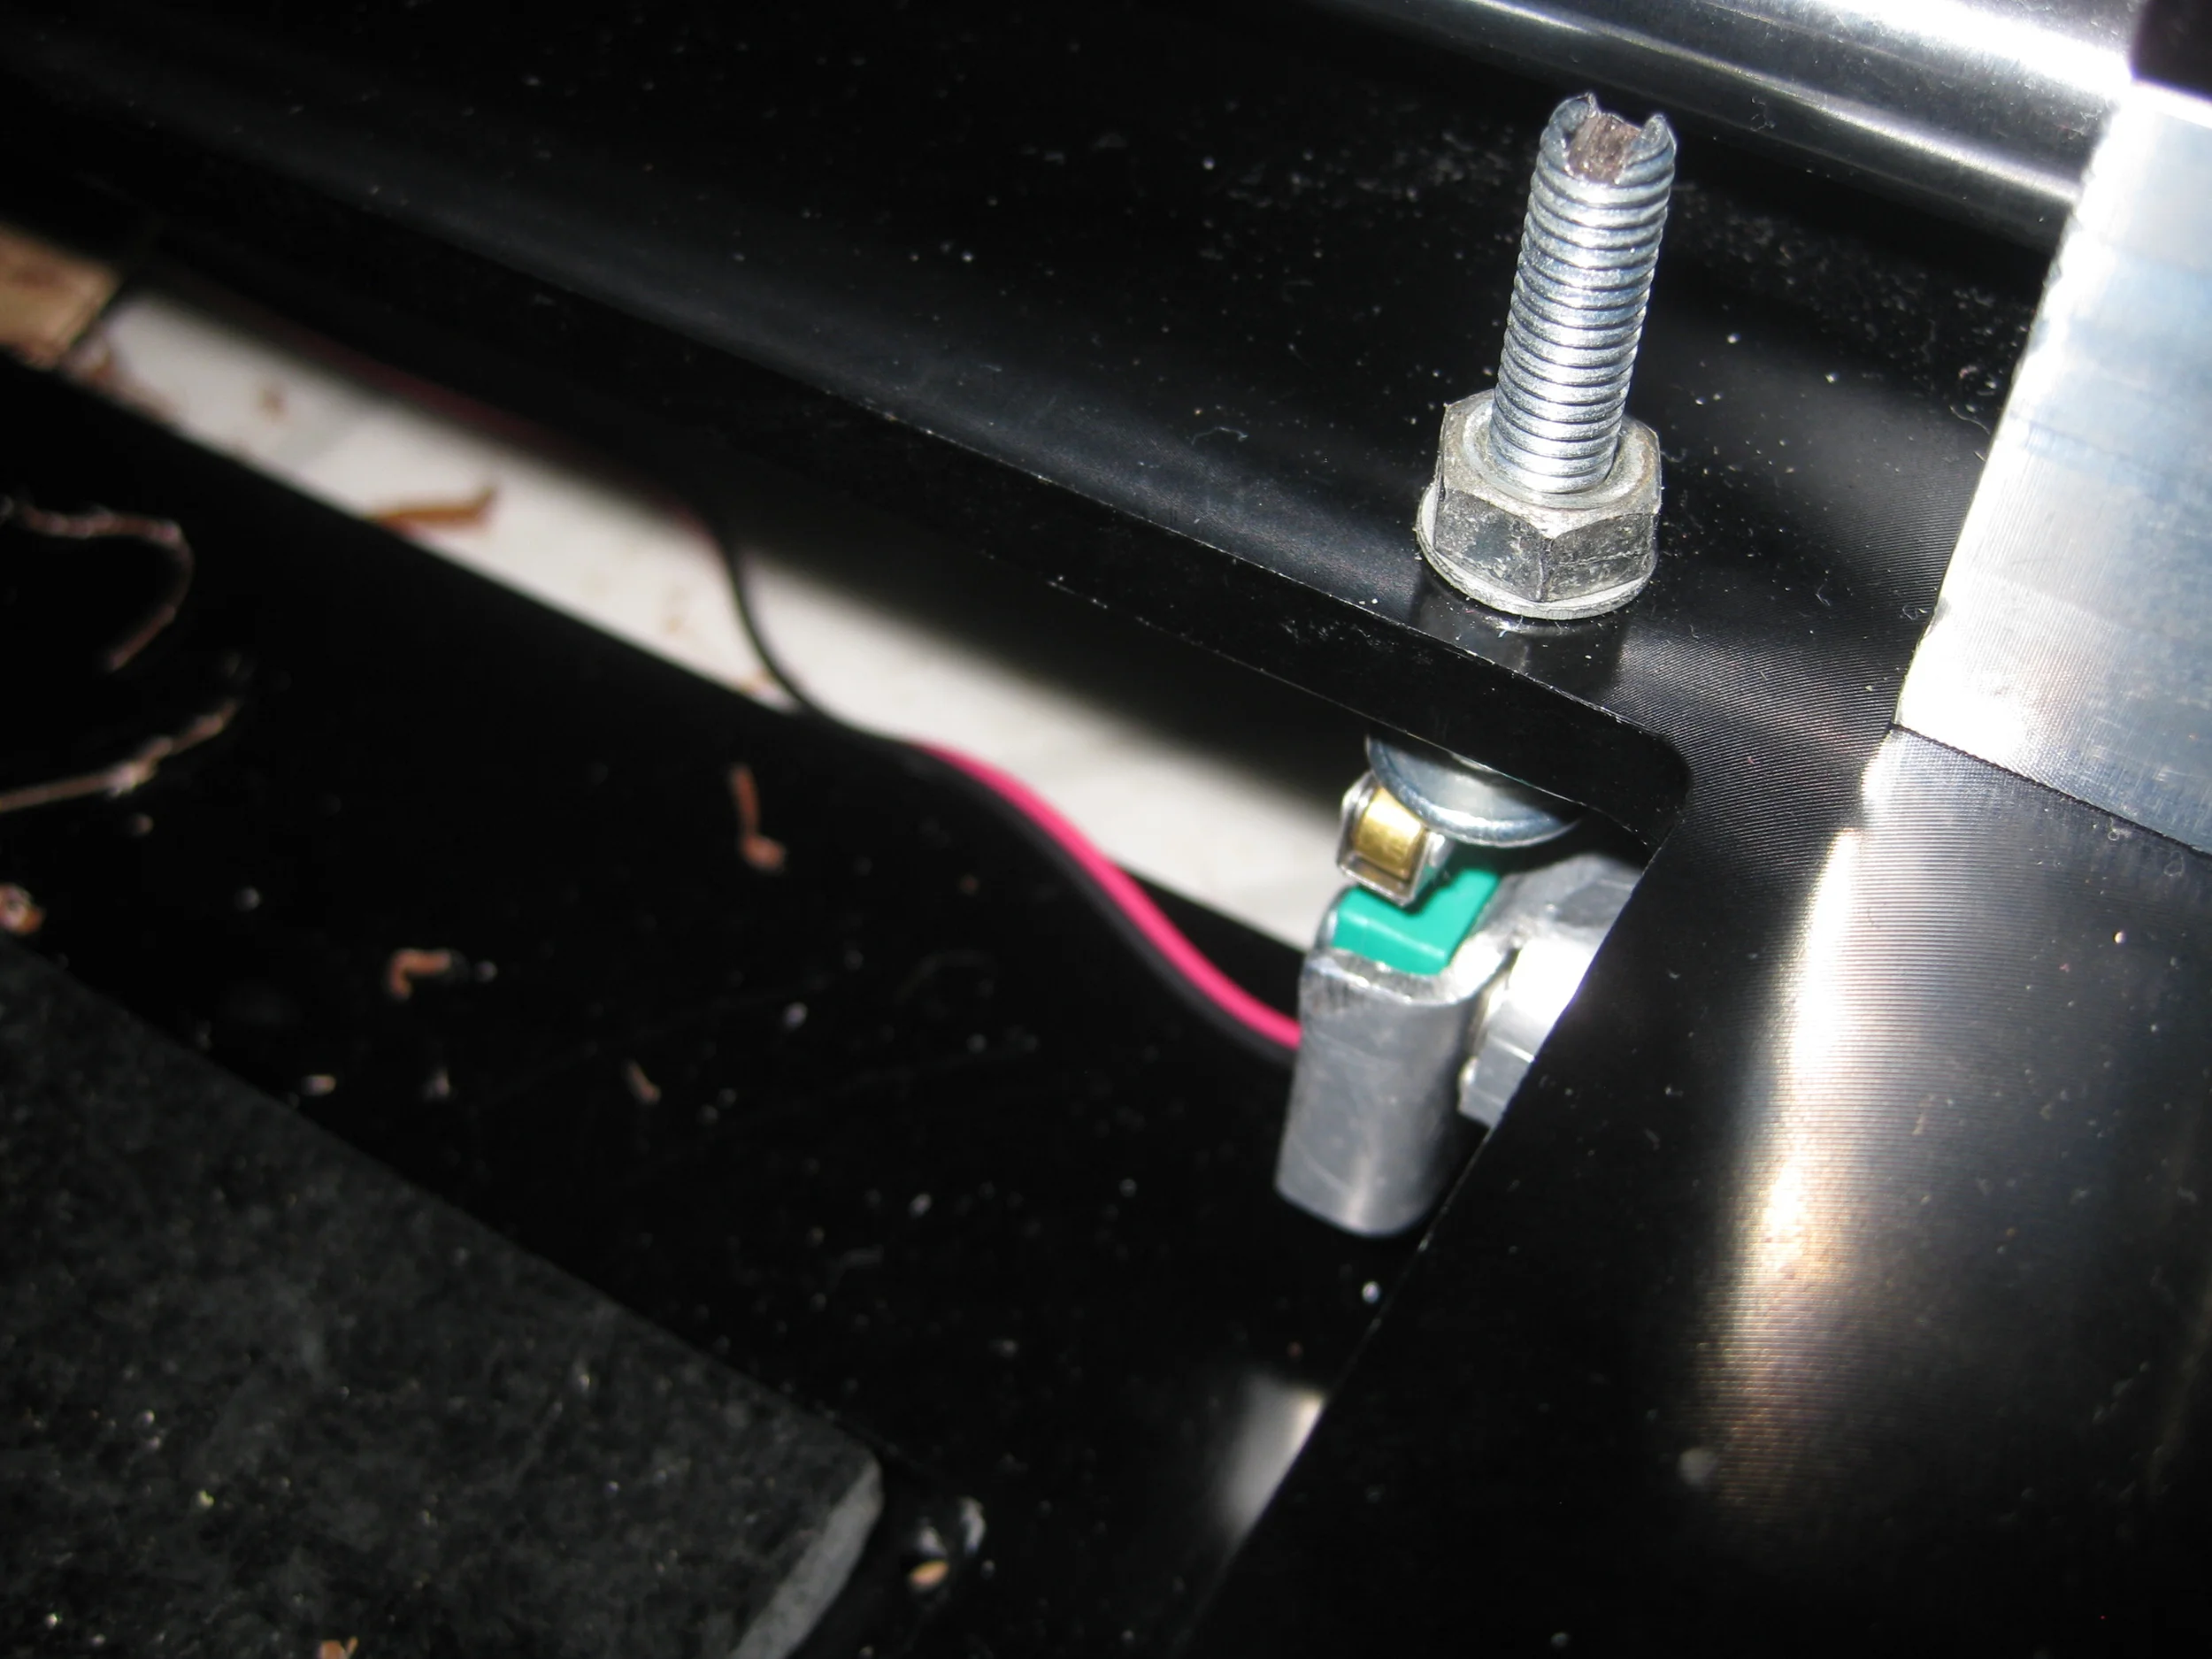
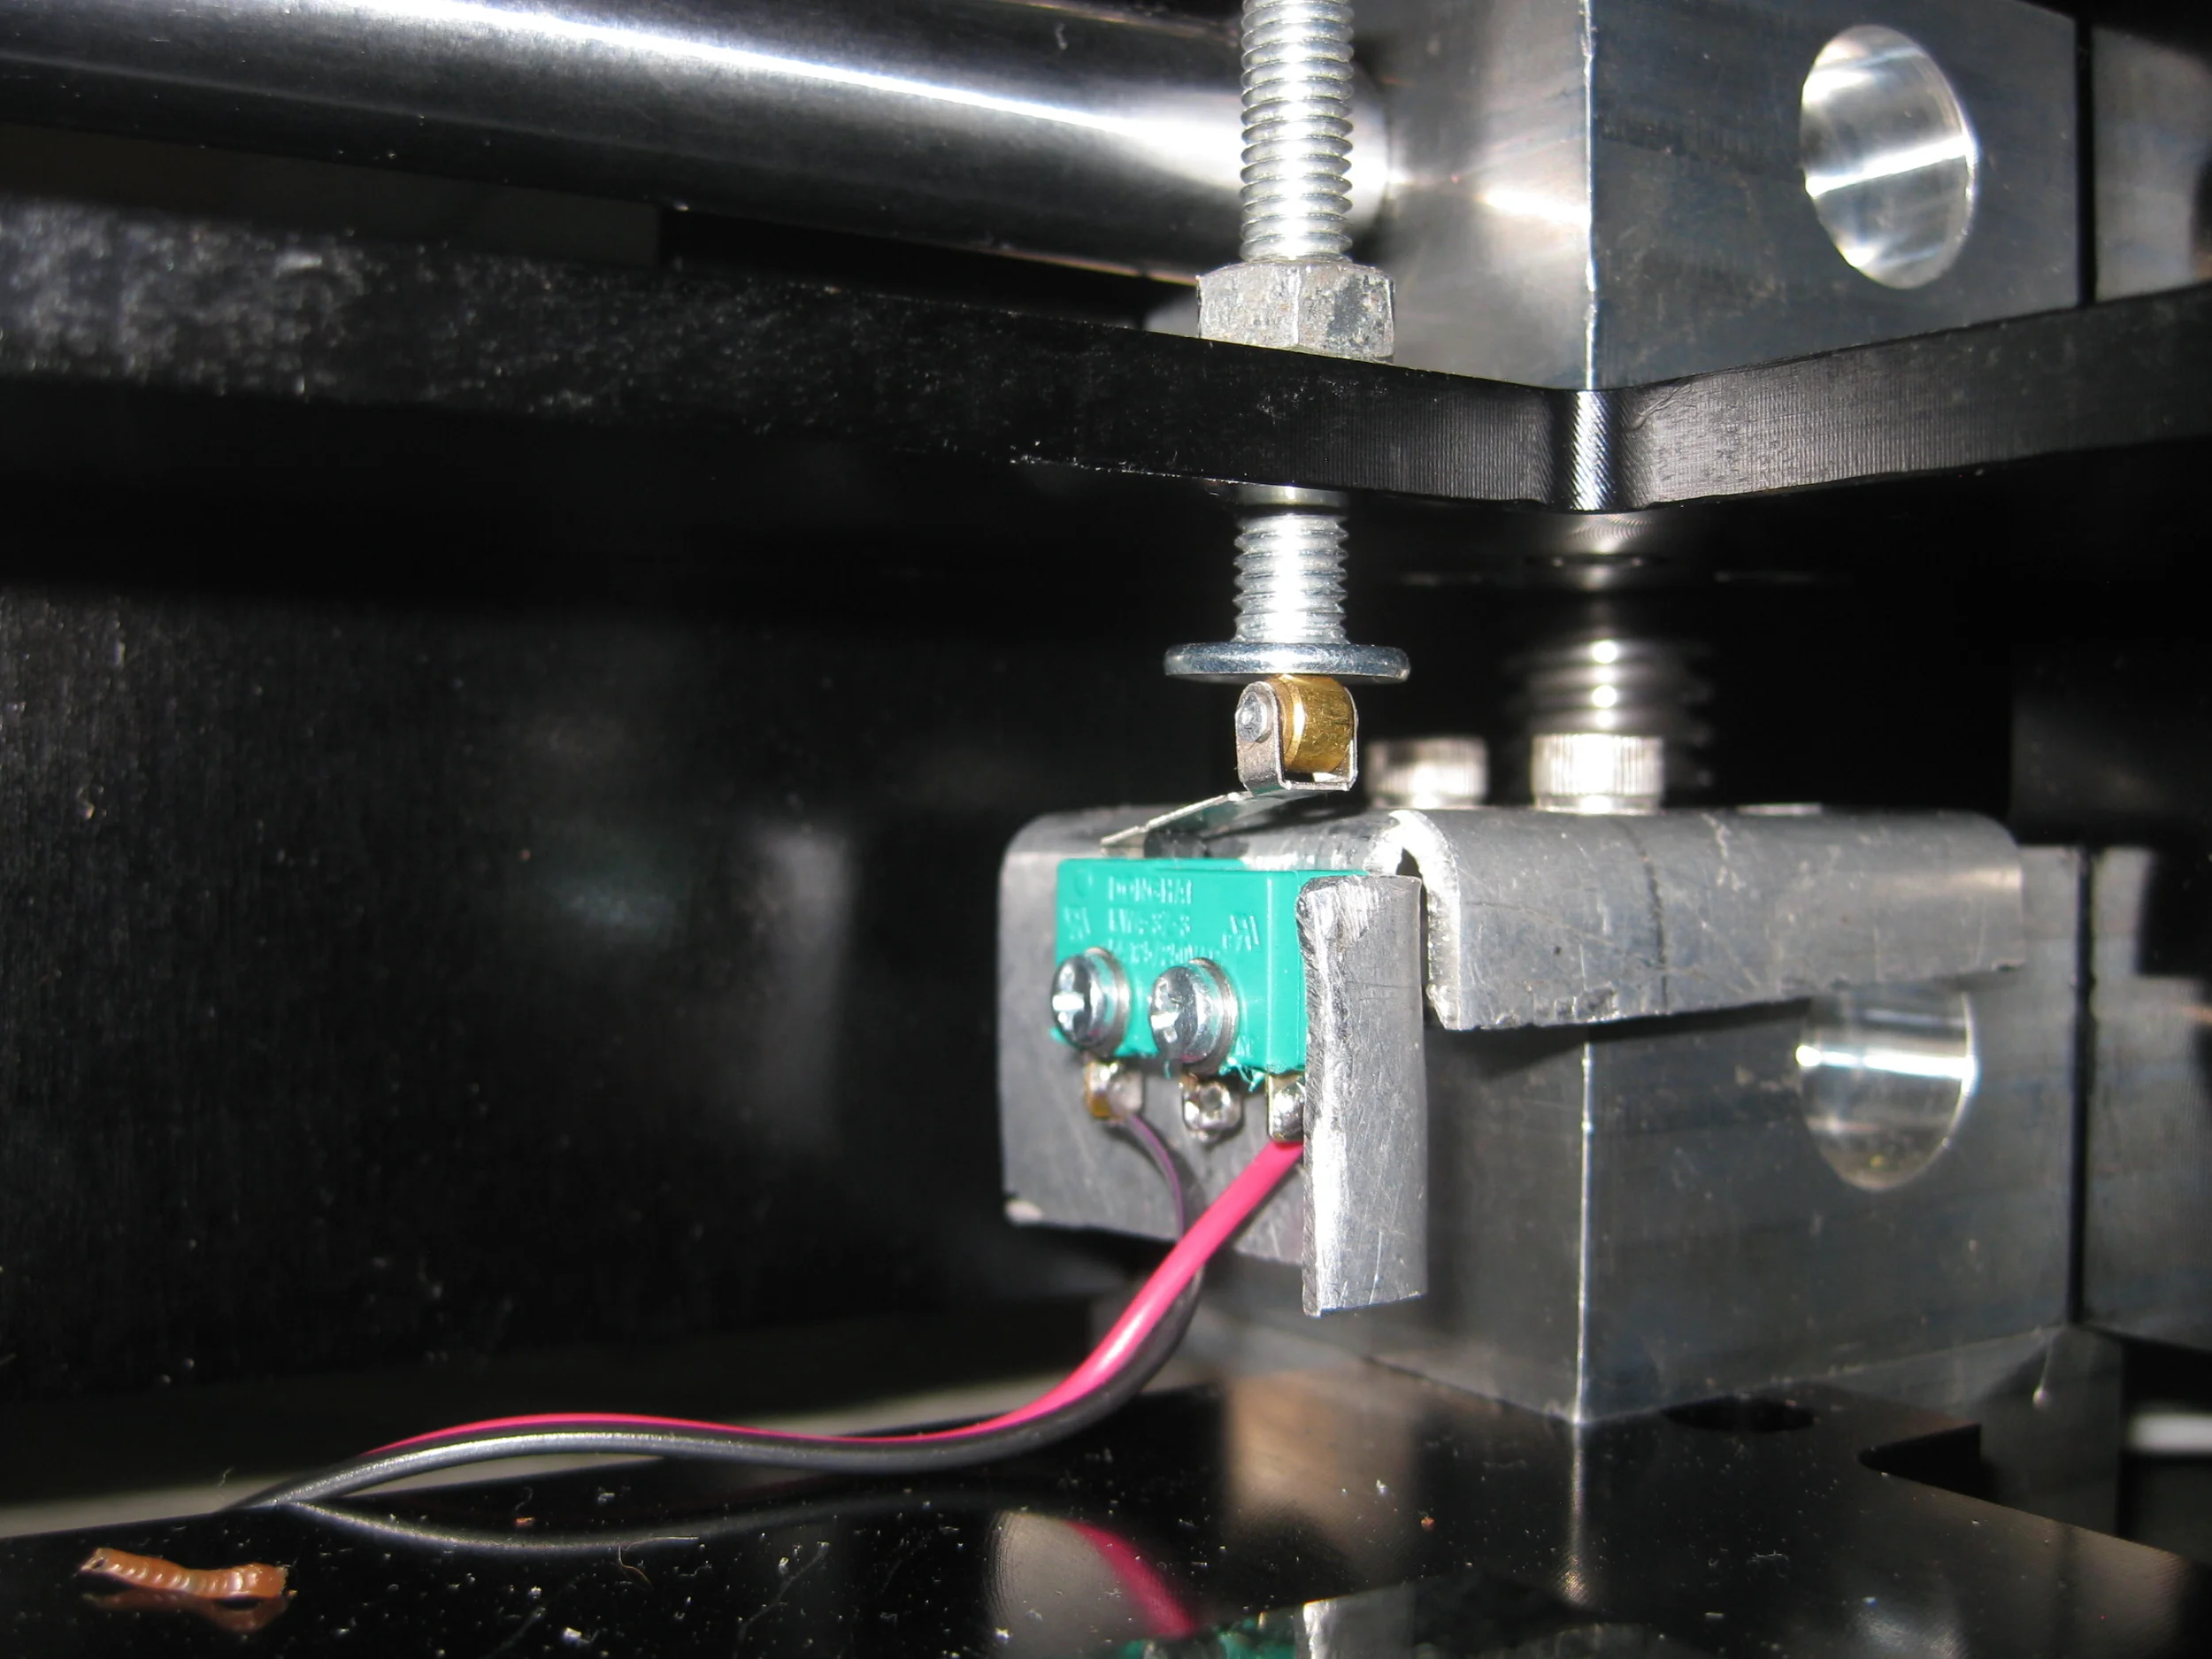
Limit switches are important, but there's no accommodation for them in the design from q3d. This is my solution for the Z axis, its adjustable with a flathead screwdriver, and works pretty well.

I only needed double stick tape to affix the X and Y limit switches, but the Z switch needed something sturdier.

The RPM survived the journey to my DC apartment. Now to make sure that the calibration held as well...

Everything is working, but the wires need a bit of TLC before I close up the back panel.